When I first ventured into the world of camping, I was definitely overwhelmed by the thought of setting up my tent. It seemed like such a huge task, with poles, stakes, and fabric everywhere. But over time, I realized that setting up a camping tent is not as complicated as it might seem. In fact, once you get the hang of it, it becomes an incredibly simple and rewarding task. If you’re new to camping, you might be wondering how to set up a camping tent for beginners. Well, I’m here to help. In this article, I’ll walk you through the entire process, step by step, to ensure your tent is set up safely and securely.
Step 1: Choose the Perfect Spot
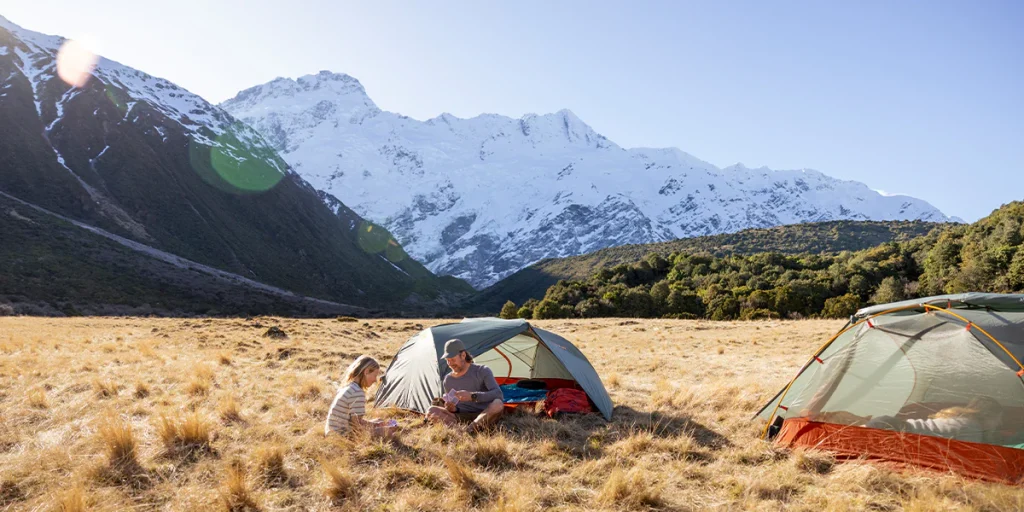
Before you even think about how to set up a camping tent for beginners, the first thing you need to do is choose the right spot. This might seem like a no-brainer, but it’s important to remember that the location you select can greatly impact the quality of your camping experience. I always look for a level, dry spot that’s free from rocks and sticks. Uneven ground can make it hard to sleep, and rocks underneath the tent can create discomfort or even damage the tent floor over time.
Look for Protection from Wind
I also try to avoid setting up my tent in an area that’s too exposed to the elements. Wind can be a huge issue, especially in open spaces. If you’re in an area where the wind is strong, setting up your tent behind a natural windbreak, like a large rock or a grove of trees, can make a big difference. Additionally, make sure there are no hanging branches that could potentially fall during high winds.
Make Sure the Area Is Drainage-Friendly
One mistake I’ve made in the past was setting up my tent in a low-lying area. When it rained, all the water pooled in that spot, and my tent quickly became flooded. If you’re camping in an area that’s prone to rain, always choose a spot that is high and dry, so water can flow away from your tent. This is especially important if you’re camping in the early spring or late fall when the weather can be unpredictable.
Step 2: Unfold Your Tent and Layout
Once you’ve found the perfect spot, it’s time to start the actual setup. The first step is to remove your tent from its bag and lay out all the components. For beginners, it’s a good idea to organize everything before you start assembling the tent. Spread the tent out on the ground and make sure the door and windows are facing in the direction you want.
Set Up the Groundsheet
Before you even begin with the poles, I recommend laying down a groundsheet to protect the bottom of your tent from moisture and wear. Some tents come with an integrated groundsheet, but if your tent doesn’t have one, it’s always a good idea to add one for extra protection. If you’re unsure about how to set up a camping tent for beginners, this step is essential for keeping the inside dry and comfortable.
Identify the Poles
The next step is to organize the poles. I like to lay the poles out in front of me and match them with the corresponding sections on the tent. Many tents come with color-coded poles, which makes it easier to identify which poles go where. This step helps you save time and energy when you start assembling the tent.
Step 3: Assemble the Tent Poles
The next step is assembling the tent poles. Most modern tents have poles that are color-coded or numbered to help you match them up correctly. I typically start by connecting the smaller sections of the poles and then move to the longer ones. Some tents use shock-corded poles, which means the poles are connected by elastic cord, making the process a lot easier. If your tent doesn’t use shock-corded poles, make sure the ends are securely locked together.
Insert the Poles into the Tent
After the poles are assembled, it’s time to insert them into the sleeves or clips of the tent. This is where you’ll see the tent start to take shape. I always make sure that the poles go into the right sleeves or clips, ensuring that the tent is stable. If the poles seem too tight or if you struggle to get them into the sleeves, it could be an indication that something is out of alignment, and you should double-check the tent’s setup.
Bend the Poles
Depending on your tent, the poles may need to be bent slightly to create the necessary arch. I always work gently when bending the poles to avoid damaging them. The goal is to create the proper tension in the frame so that the tent remains upright and stable throughout your camping trip.
Step 4: Secure the Tent to the Ground
Once the tent is standing, it’s time to secure it to the ground. For beginners, this is one of the most important steps because securing your tent properly will prevent it from blowing away in windy conditions. I start by staking down the four corners of the tent, making sure the stakes are driven into the ground at an angle. This helps the stakes stay secure and prevents them from coming loose.
Use Guy Ropes for Extra Stability
After securing the corners, I attach the guy ropes to the tent’s loops. The guy ropes are used to add extra tension and stability to the tent. I always make sure to tighten them evenly, pulling the tent’s corners out to create a taut structure. This step is particularly important in windy weather, as it keeps the tent from flapping and potentially tearing.
Step 5: Add the Rainfly (if applicable)
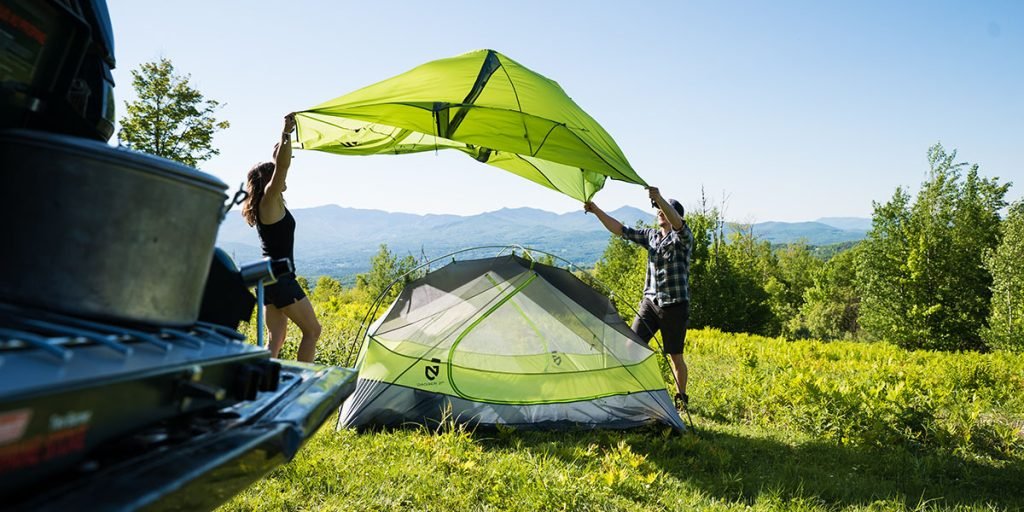
If your tent comes with a rainfly, this is the next step. A rainfly is an extra layer of protection that covers the top of the tent and helps keep you dry during rainstorms. I carefully drape the rainfly over the tent and make sure it is securely fastened at the corners and along the sides. Some rainflies have adjustable straps that allow you to tighten them for a snug fit. When you set up your tent for the first time, it’s essential to get this step right to ensure maximum protection from the elements.
Step 6: Double-Check Everything
Finally, before you settle in, it’s always a good idea to double-check your setup. Walk around the tent and make sure all the poles are securely in place and that the tent is properly staked down. Check the tension of the guy ropes and adjust them as necessary. If your tent has multiple rooms or vestibules, make sure all the zippers are closed and everything is secured.
Conclusion
Learning how to set up a camping tent for beginners may seem intimidating at first, but with a little practice, it becomes second nature. By following these steps and understanding the process, you’ll be able to set up your tent quickly and confidently. Remember, the key to a successful camping experience is preparation. Once you’re familiar with the setup process, you can spend more time enjoying the great outdoors rather than stressing over your tent. Happy camping!