aIf you’ve ever camped with small kids in Queensland, you already know the 5am problem. The sun comes up, the tent glows orange, and the toddler who fought bedtime for forty minutes is suddenly wide awake and ready to go.
The good news is you don’t need to buy a new tent to fix it. With a few cheap, practical hacks — most of them using things from Kmart or Bunnings — you can make almost any tent significantly darker. Here’s exactly how.
Why Reducing Light in Your Tent Matters
The first few times I went camping in the summer, I learned the hard way how little barrier standard tents offer against sunlight. Once that sun peeks over the horizon, it can light up your tent like a lantern. In Queensland this is especially rough — summer sunrise on the Gold Coast can hit before 5am, and standard tent fabric offers almost no resistance to it. If you’re camping over school holidays or a long weekend, a good night’s sleep is already precious. Losing it to a glowing tent at dawn makes everything harder. Light disrupts sleep cycles and cuts rest short, especially if you’re camping in a place where sunrise happens earlier than you’re used to.
Getting quality sleep while camping is crucial. You want to feel energized for hikes, cooking meals, or simply relaxing by the fire. That’s why I started experimenting with how to make any tent a dark rest tent—it helped me take full advantage of my time in nature without feeling sleep-deprived.
Choosing the Right Starting Point
Opt for Tents with Light-Blocking Features When Possible
If you’re still shopping for a tent and you already know light is an issue, it helps to look for models built with darker fabric or blackout panels. There are options on the market now that are made to keep light out as much as possible. These tents may be marketed as “blackout” or “darkroom” tents. But don’t worry—if you already own a lighter tent, you can still follow these steps to make it work.
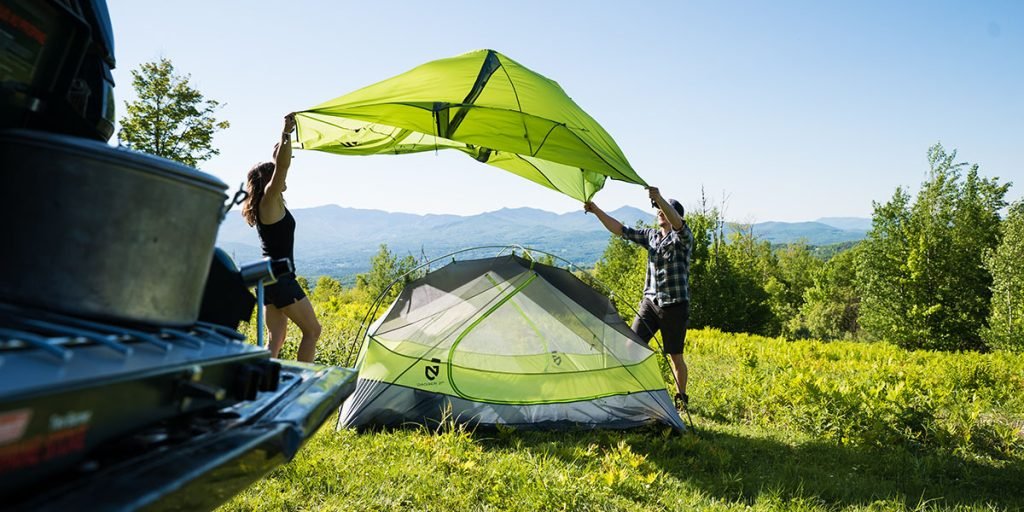
Pick a Double-Wall Tent for More Light Control
Tents with an inner layer and outer rainfly naturally offer better control over light levels. The extra layer adds insulation from sunlight. Even if your tent wasn’t sold with dark rest features, a double-wall setup gives you a strong foundation for creating a darker environment inside.
The Importance of Setup Location
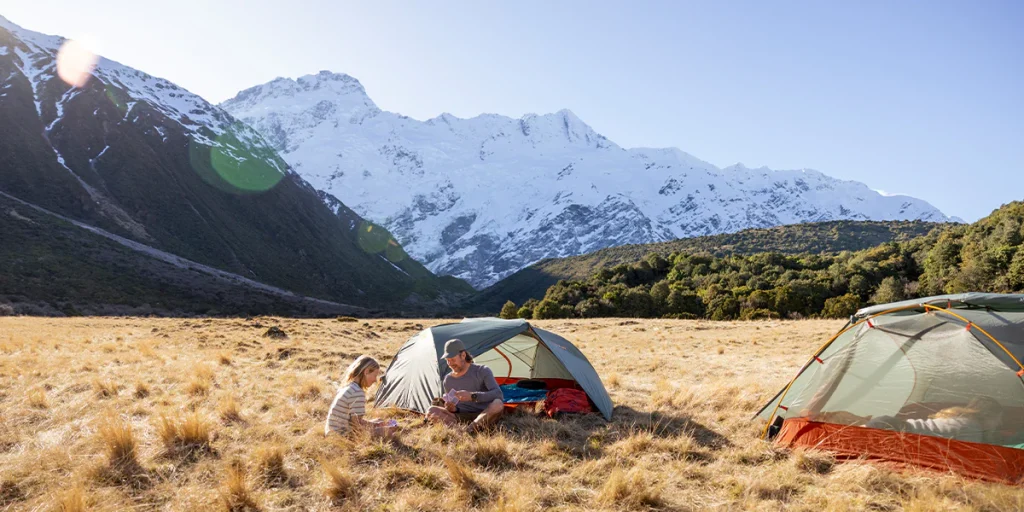
Use Natural Shade to Your Advantage
The first thing I do when setting up camp is look for natural cover. Trees, bushes, rock formations, or even vehicles can help reduce the light hitting your tent. Placing your tent under the canopy of trees or on the west side of a slope can significantly limit early morning exposure. This makes a big difference in the amount of light that filters through, especially at sunrise.
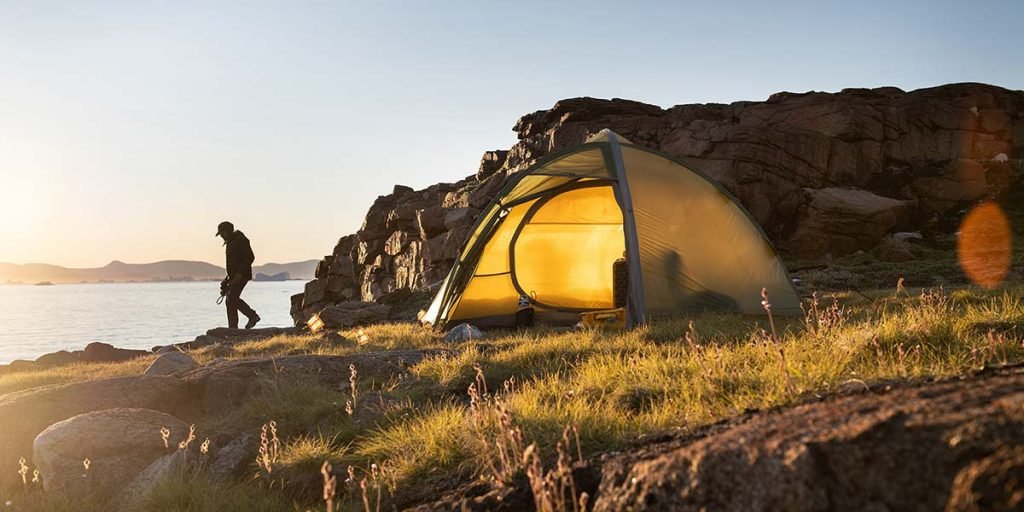
Face the Tent Away from the Sun’s Path
It’s a simple trick that works wonders. I position my tent so the door and main wall don’t face east. This helps shield the inside from the strongest morning rays. Even without extra coverings, this alone can help delay the moment when light wakes you up.
External Solutions to Block Sunlight
Drape Tarps or Reflective Blankets Over the Tent
To really cut down on incoming light, I use either a dark tarp or a reflective survival blanket to cover my tent. A dark green or charcoal tarp from Bunnings (around $15–$25 depending on size) works perfectly for this — dark enough to block light, cheap enough that you won’t stress about it getting dirty at camp. Draping one over the roof and securing it with guy lines or rope gives an instant darkening effect. Reflective blankets not only block sunlight but also help deflect heat, which is a bonus in warmer months.
If I’m in a wooded area, I often string a cord between two trees and create a tarp “roof” a few feet above my tent. This creates a shaded zone that helps manage light and heat without smothering airflow.
Add an Extra Layer Over the Tent Walls
I sometimes bring a piece of blackout lining fabric from Spotlight (sold by the metre, around $8–$12) and clip it to the outside of the tent using large bulldog clips from Kmart — you’ll find them in the stationery aisle for a couple of dollars. Clothespins or binder clips are great for attaching material without damaging the fabric. The darker the covering, the better the results.
Interior Modifications for a Darker Tent
Line the Inside with Dark Fabric
One of my favorite hacks is lining the interior walls with dark sheets or fabric. I cut old blackout curtains into panels and attach them to the inside of the tent using Velcro or safety pins. You’d be amazed how effective this is. Not only does it absorb light coming through the walls, but it also adds a cozy, private atmosphere.
If you want the full step-by-step on exactly what to buy, how much fabric to cut, and how to pack it all so it adds almost nothing to your kit weight — I’ve gone deep on all of these methods right here, How to Blackout a Cheap Tent So Your Kids Actually Sleep Past 5am, including the Kmart clip method that saved our Easter camping trip.
Build a Sleep Pod Within the Tent
For the ultimate darkness, I sometimes set up a small inner cocoon around my sleeping area using dark-colored fabric and lightweight poles. It’s like creating a mini room within the tent. This is especially helpful if you’re sharing your tent with others and want an individualized sleeping space that stays dim.
Treating Vents, Zippers, and Windows
Cover Mesh Openings with Fabric
Tents are designed for ventilation, but those mesh panels often let in way too much light. I solve this by taping or clipping pieces of dark fabric over each mesh opening. These can be removed easily if needed but are great for keeping the tent dim in the early morning.
Seal Door Cracks and Zipper Gaps
Light often sneaks in around zippers and seams. To fix this, I hang an extra piece of fabric or towel inside the door area and let it drape down after closing the zipper. This acts like a blackout curtain at the tent entrance.
Managing Light Sources at Night
Use Low-Light Lanterns and Red LEDs
Even after dark, the type of light you use inside the tent can affect your ability to stay asleep. I use red LED lanterns or dimmable headlamps when moving around the tent at night. Red light is gentler on the eyes and doesn’t disrupt melatonin production the way white or blue light can.
Keep Screen Time Minimal
Phones and tablets emit strong blue light. I reduce the brightness on my screen, switch on night mode, and avoid scrolling right before bed. If I do need to check something, I try to shield the light from the rest of the tent using a hoodie or blanket.
Controlling Temperature and Airflow
Don’t Sacrifice Ventilation for Darkness
While trying to darken the tent, it’s important to maintain some airflow, especially during summer. I leave a few small gaps covered with breathable dark fabric or netting that blocks light while still letting air move through. Staying cool at night helps improve sleep, even more so when the space feels dark and fresh.
Bring a Portable Fan for Hot Nights
If you’re camping during warm weather, consider packing a battery-operated fan. This keeps the air moving, preventing the tent from becoming stuffy, especially if you’ve used extra layers to darken the space.
Final Thoughts
Getting your kids to sleep past 5am at camp is genuinely achievable — it just takes a bit of prep before you leave the driveway. A Bunnings tarp, some Spotlight blackout fabric, and a few Kmart clips weigh almost nothing and make a real difference on every trip.
Want the full printable kit list? Grab the free Camping Footprint family camping checklist below — it covers the complete blackout tent setup plus everything else you need for a comfortable family trip.
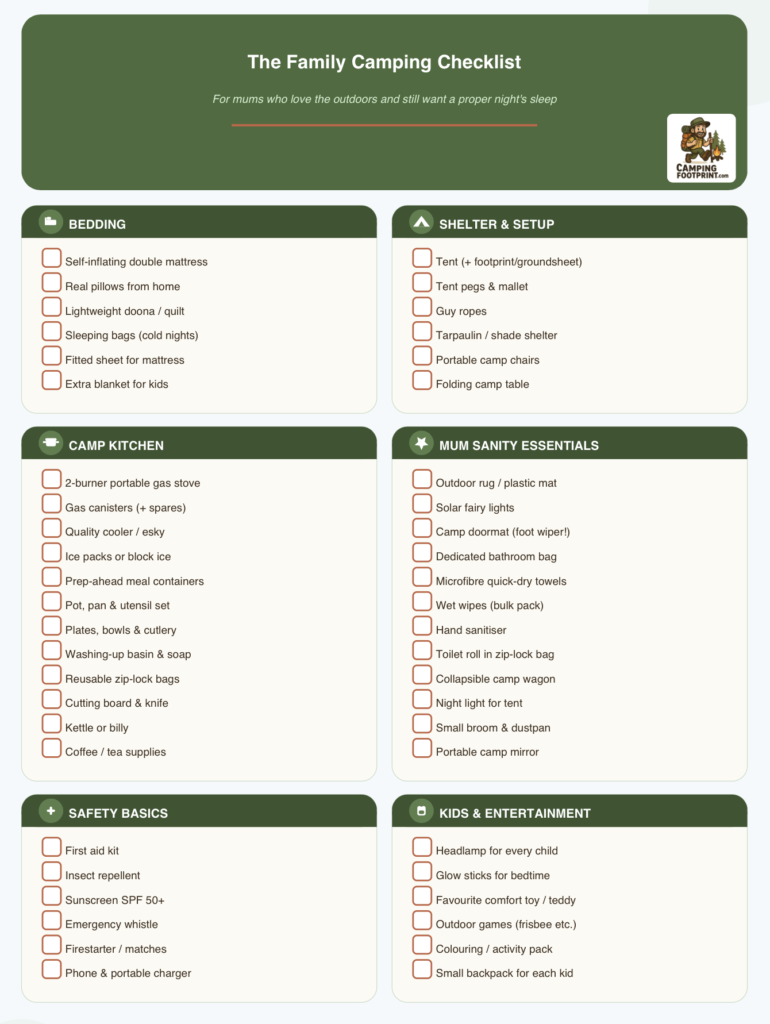
Grab your free checklist before you pack a single thing
Turn your next camping trip into a comfortable, family-friendly glamping experience—without the stress.
Thank you!
You have successfully joined our subscriber list.
Some links on this page are affiliate links. If you purchase through them, we may earn a small commission at no extra cost to you.