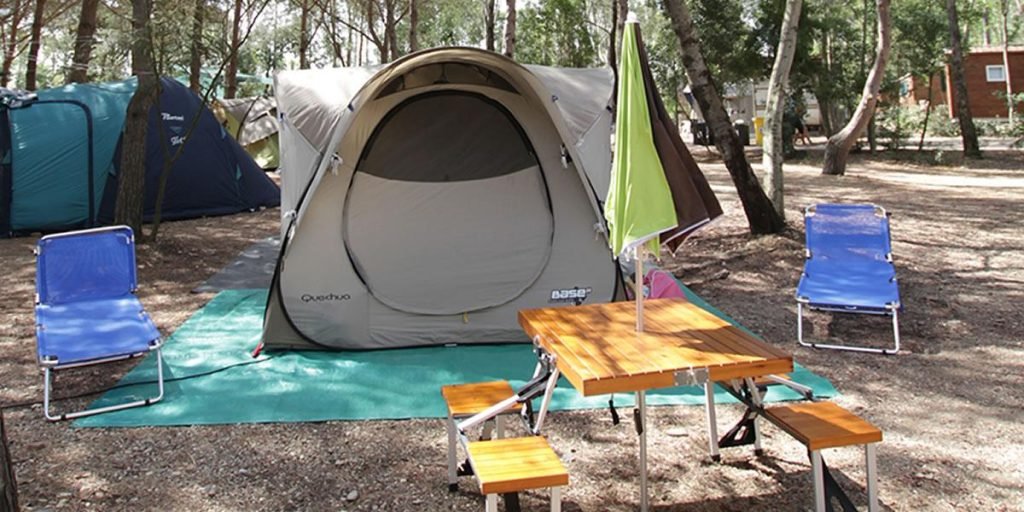
Canvas tents are some of the most durable and reliable shelters for outdoor adventures. As someone who spends a lot of time in the great outdoors, I’ve come to appreciate the strength and breathability of canvas tents. However, even the best canvas tents can experience wear and tear over time. Whether it’s a rip in the fabric, a zipper that won’t budge, or a pole that’s seen better days, knowing how to repair a canvas tent can save you from a potentially uncomfortable camping experience. In this guide, I’ll walk you through the process of fixing common issues with canvas tents and share some personal tips I’ve learned along the way.
Assessing the Damage to Your Canvas Tent
Before diving into repairs, it’s essential to assess the extent of the damage to your tent. I always make it a point to check for any wear before embarking on a trip, but accidents can happen at any time. Here’s how I go about it:
Inspect the Tent Fabric
The canvas material itself is usually the most vulnerable part of the tent. It can get damaged from sharp objects, rough weather conditions, or simply from age. The first step in repairing a canvas tent is thoroughly checking the fabric for any holes, rips, or fraying along the seams. I typically find tears in areas of high stress, such as around the corners or the edges of the door and windows. If you spot any holes or tears, don’t panic — they are often easy to repair.
Look Over the Zippers and Tent Poles
While the fabric might be the primary concern, the zippers and poles can also face their fair share of issues. Over time, the zippers can get stuck or may break altogether, and poles can bend, crack, or snap if not handled carefully. I’ve had zippers catch on fabric or become hard to move, and I’ve also had poles bend in strong winds. A quick inspection of these parts can help you catch any problems early.
Once you’ve identified the damage, you can proceed with fixing your canvas tent.
How to Repair a Canvas Tent: Fixing Fabric Damage
Repairing Small Holes and Tears
Small holes or rips in your tent’s fabric are a common issue, but thankfully, they’re not too difficult to fix. Here’s the process I follow when repairing fabric damage:
- Step 1: Clean the Damaged Area: Before applying any repair patches, I always clean the affected area. I use a damp cloth to remove dirt and debris, as this helps the patch adhere better. I then let the area dry completely before proceeding.
- Step 2: Cut a Patch: I use a piece of durable canvas or outdoor fabric that closely matches the tent material. The patch should be at least a few inches larger than the hole to ensure it covers the entire damaged area. To avoid peeling or lifting, I round the corners of the patch, as sharp edges are more prone to coming off over time.
- Step 3: Apply the Patch: For the adhesive, I choose a strong fabric glue or outdoor-grade adhesive. I apply a thin layer of glue around the edges of the patch and press it firmly onto the tent fabric. I always make sure the patch is aligned properly and that no air bubbles are trapped underneath.
- Step 4: Let the Patch Cure: After applying the patch, I let the glue dry for a full 24 hours. This ensures the bond is strong and that the patch stays in place even in tough conditions.
Fixing Larger Tears
If you have a larger tear in the fabric, you may need a more substantial repair. A canvas repair kit is a great investment for these situations. These kits typically come with larger patches, adhesive, and instructions, so they’re easy to use. I follow the same procedure as for smaller holes, but I use a larger patch and more glue to ensure the repair holds up.
Repairing Zippers and Tent Poles
In addition to fabric damage, zippers and poles are also common points of failure. Here’s how I handle these repairs:
Fixing Zippers
Zippers can often get stuck or come off their tracks, especially after heavy use. Here’s how I repair a zipper:
- Step 1: Lubricate the Zipper: If the zipper is stuck, I use a bit of lubrication like bar soap or a commercial zipper lubricant. I rub it onto the teeth of the zipper and gently move the zipper up and down to work the lubricant in.
- Step 2: Reattach the Zipper: If the zipper has come off the track, I carefully guide the teeth back into place. I use a pair of pliers if needed to assist with the process. If the zipper is completely broken, I might replace it entirely or use a temporary fix like a zipper slider repair kit.
Repairing Tent Poles
Tent poles can sometimes bend, crack, or even break if they are mishandled or exposed to extreme conditions. I’ve dealt with broken poles a few times, and here’s what I’ve learned:
- Step 1: Assess the Damage: If a pole is cracked or bent, I inspect it to determine how severe the damage is. For minor cracks, I’ve used duct tape or fiberglass tape to temporarily reinforce the pole until I can replace it.
- Step 2: Reinforce the Pole: If the crack is small, I apply a fiberglass splint around the damaged area and secure it with strong tape or adhesive. This provides added support and keeps the pole functional for a few more trips.
- Step 3: Replace the Pole: If the pole is beyond repair, I’ll order a replacement from the tent manufacturer or a camping gear store. In a pinch, I’ve used a spare pole from another tent or a DIY solution, like a wooden rod, until I can get a proper replacement.
Maintaining Your Canvas Tent
Once your tent is repaired, it’s important to maintain it to prevent further damage. I regularly clean my tent, especially after wet or muddy trips, and I store it in a dry, cool place away from direct sunlight. I also apply a waterproofing treatment every season to keep the fabric in top condition.
Regular Inspections
I always do a quick inspection of my canvas tent before heading out on a camping trip. It’s important to catch small issues before they become big problems. Checking the seams, zippers, and poles regularly ensures I don’t run into any surprises during my trip.
Conclusion
Learning how to repair a canvas tent is a valuable skill that every camper should have. With the right tools and a bit of knowledge, most issues can be fixed quickly and easily. I’ve found that taking care of small repairs as soon as they arise helps prolong the life of my tent and keeps me comfortable during my camping adventures. By following the steps I’ve outlined, you’ll be prepared to tackle any damage that comes your way, ensuring your tent stays in great shape for many more camping trips to come.